Quickstart
Bckt.net provides a powerful interface for you to get started selling products quickly.
Sign up
To begin, first create a GitHub account which you will use to log into bckt. Currently we do not support GitHub organizations and each GitHub account will be associated with only one store.
Next, click get started on our home page. This will prompt your to sign into your GitHub account.
Stripe setup
After signing in, complete the compliance forms we require due to legal regulations. All information is directly provide to and securely stored by Stripe. Bckt never stores any of your privileged information.
Once your account has been approved (this usually takes minutes) you can access the dashboard to view an overview of your freelancing business and visit the products dashboard to create your first product.
Create your first product
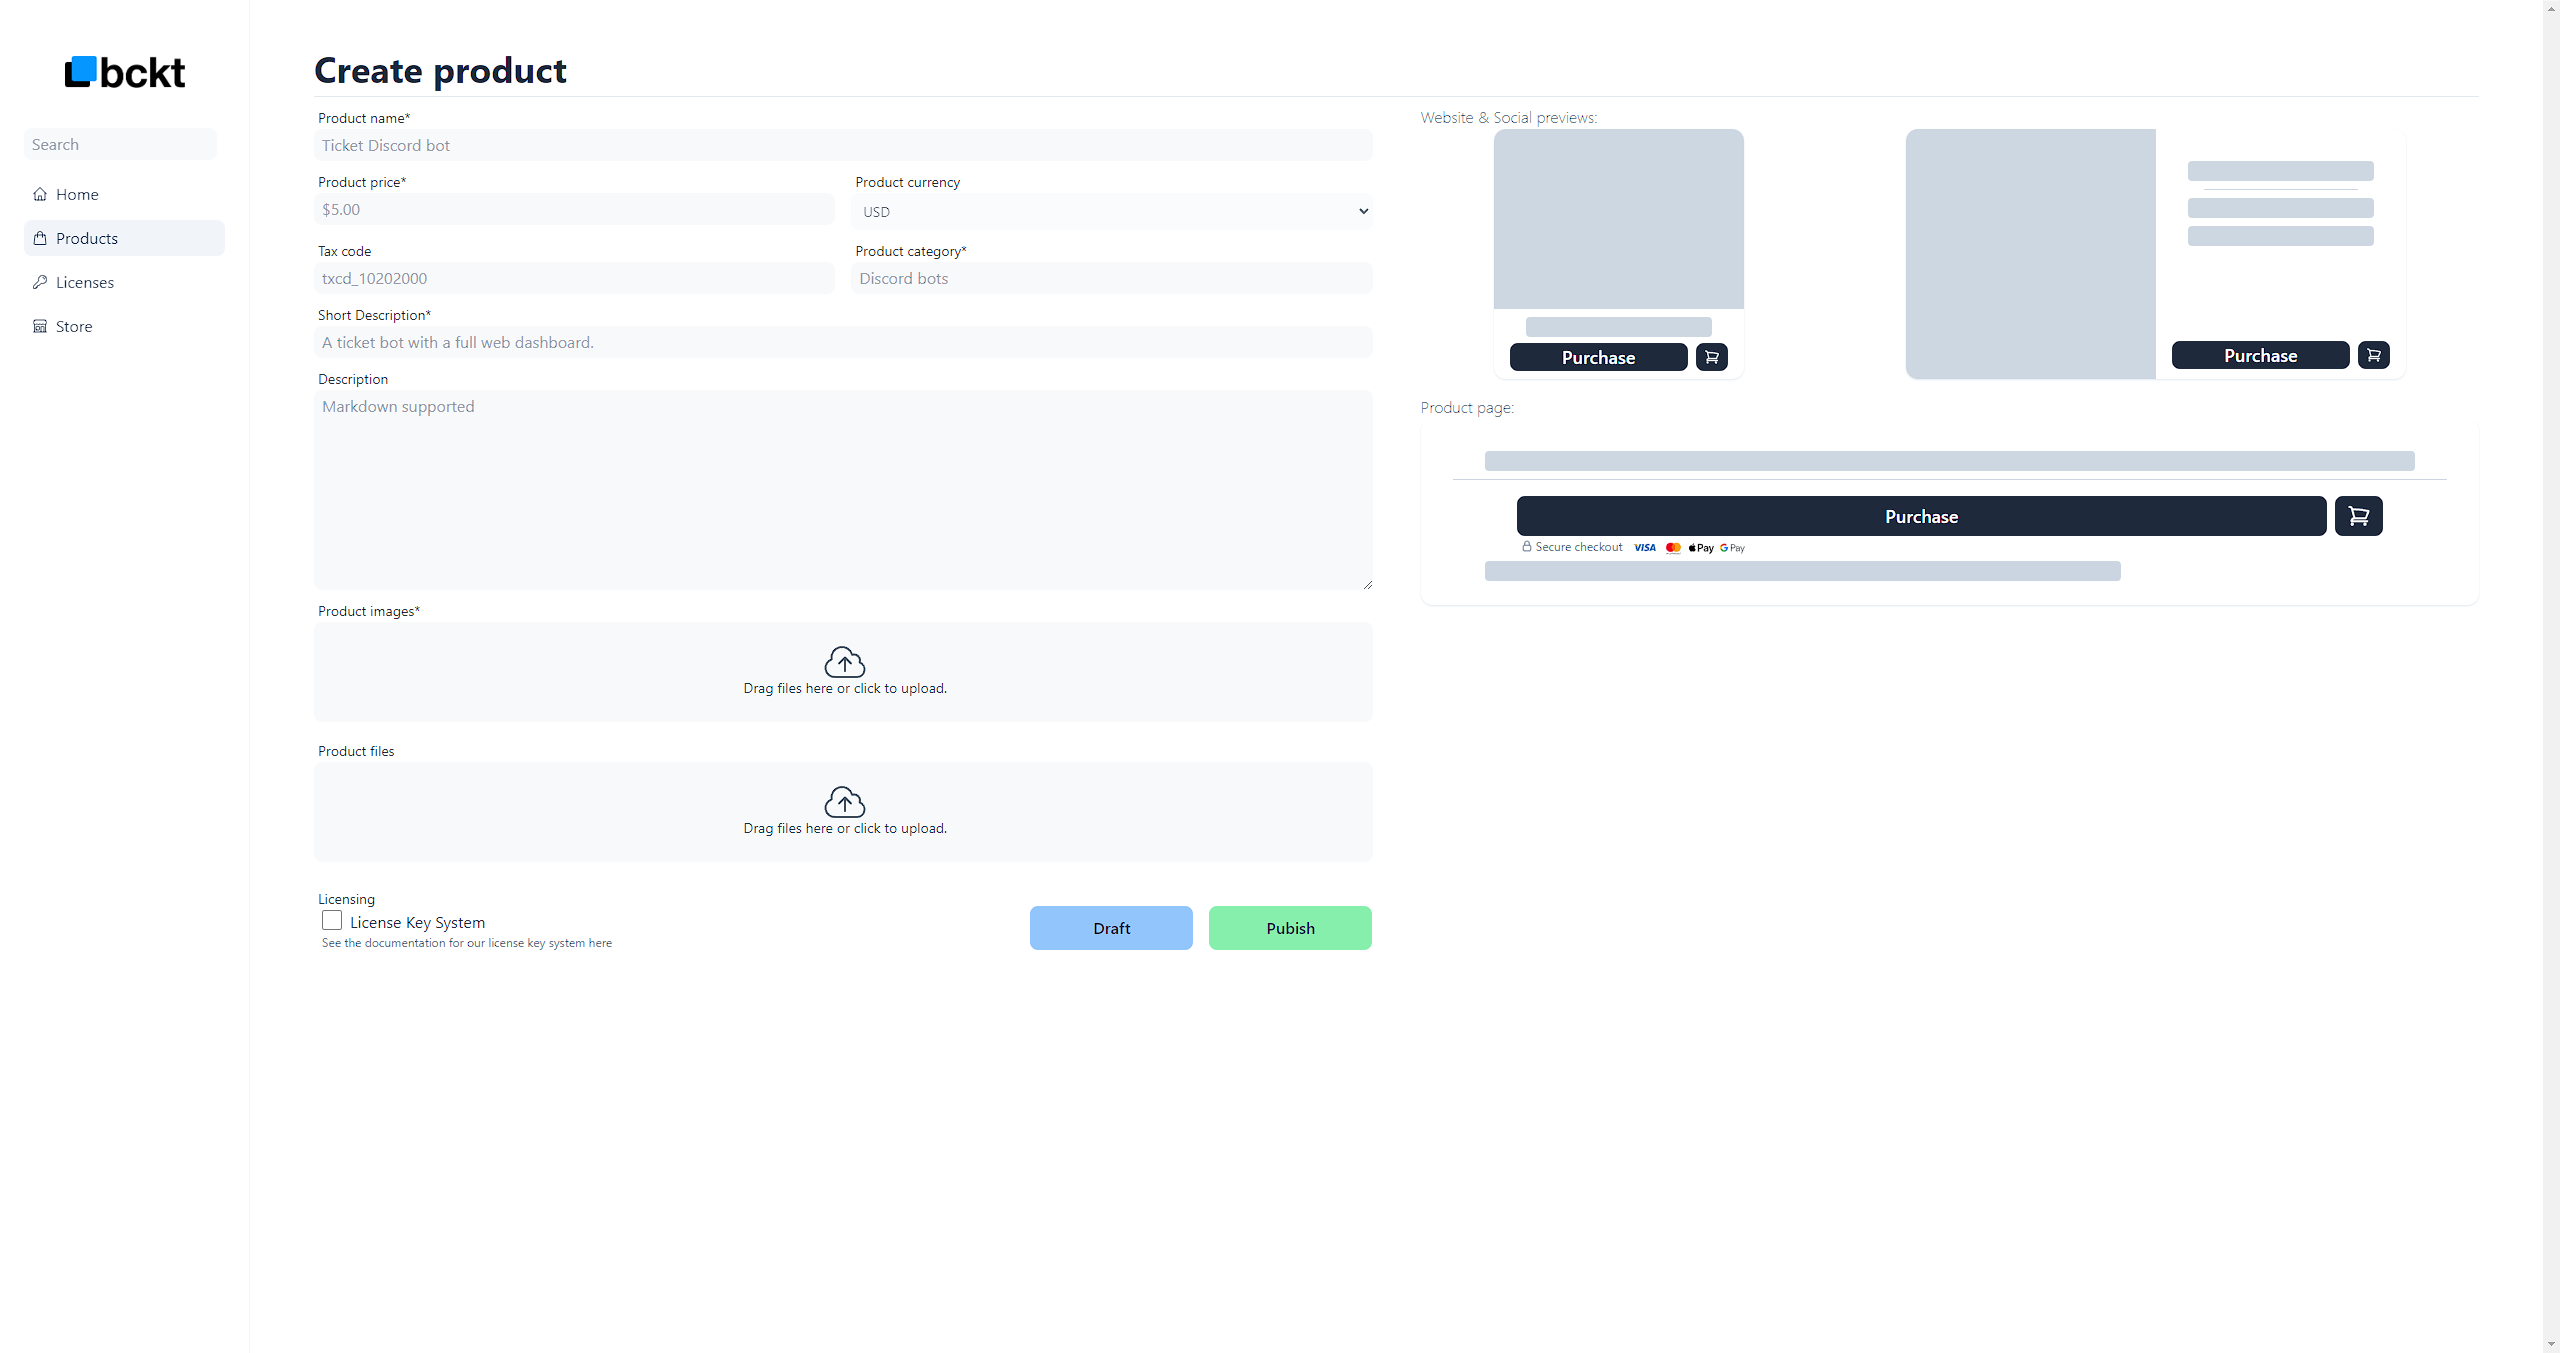
To create your first product, click on the products sidebar tab, then the plus sign.
Set a title, short description, description, price, category and upload an image. Click publish or draft to save your product.
Optionally, set a tax code for the product from the tax code docs.
Setup your Storefront
Initially we will setup a bckt.net subdomain for your storefront, but you can also bring your own domain. To find cheap domains we recommend tldes.com.
If you do not have a custom domain, skip to the customization step.
DNS Configuration
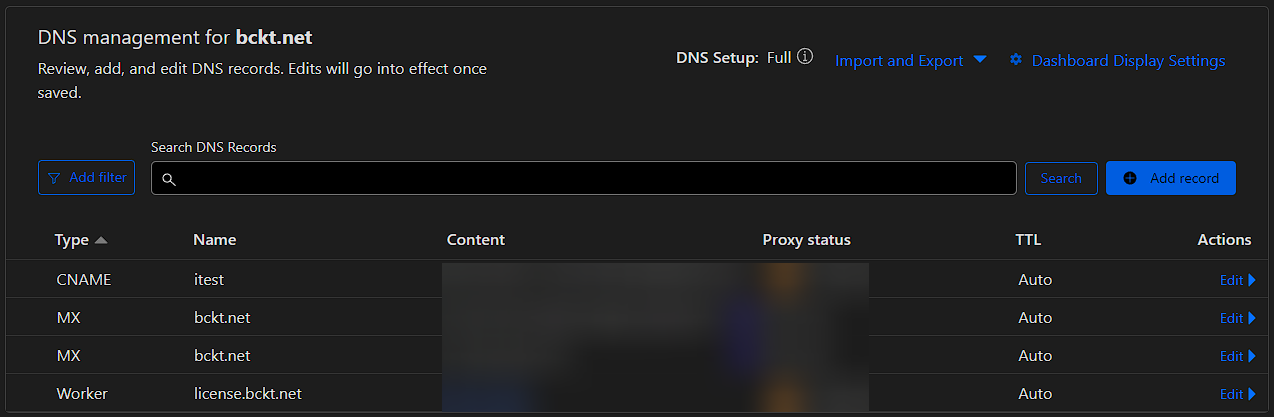
In your domain management interface, delete any records that might be associated with the domain name you wish to use.
For example, we will setup a storefront with the domain test.bckt.net. As seen below, there are no records associated with test.bckt.net.
Now we can add our A record which will point to the .bckt.net subdomain we provided.
Now we can add our CNAME record which will point to the .bckt.net subdomain we provided.
On the bckt dashboard, navigate to the store tab, and under domains click add domain.
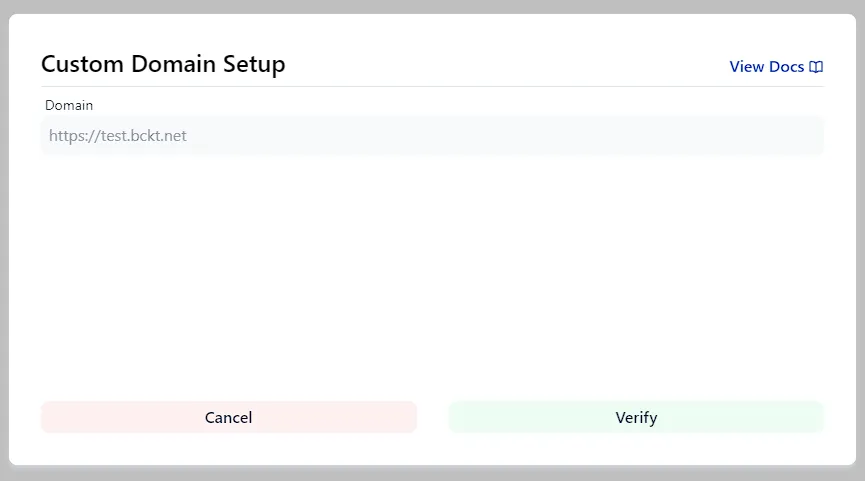
Once you enter your domain name, bckt will check to ensure it can be setup with our system.
Once your domain has been verified, you will need to either add a CNAME or A record.
For our tutorial, we will add the CNAME record gfzdctlkdkwqx66d.bckt.net to our domain test.bckt.net but the proccess will be similar for A records aswell.
In your Cloudflare dashboard, navigate to the dns settings for your domain and add the corresponding record. (Example below)
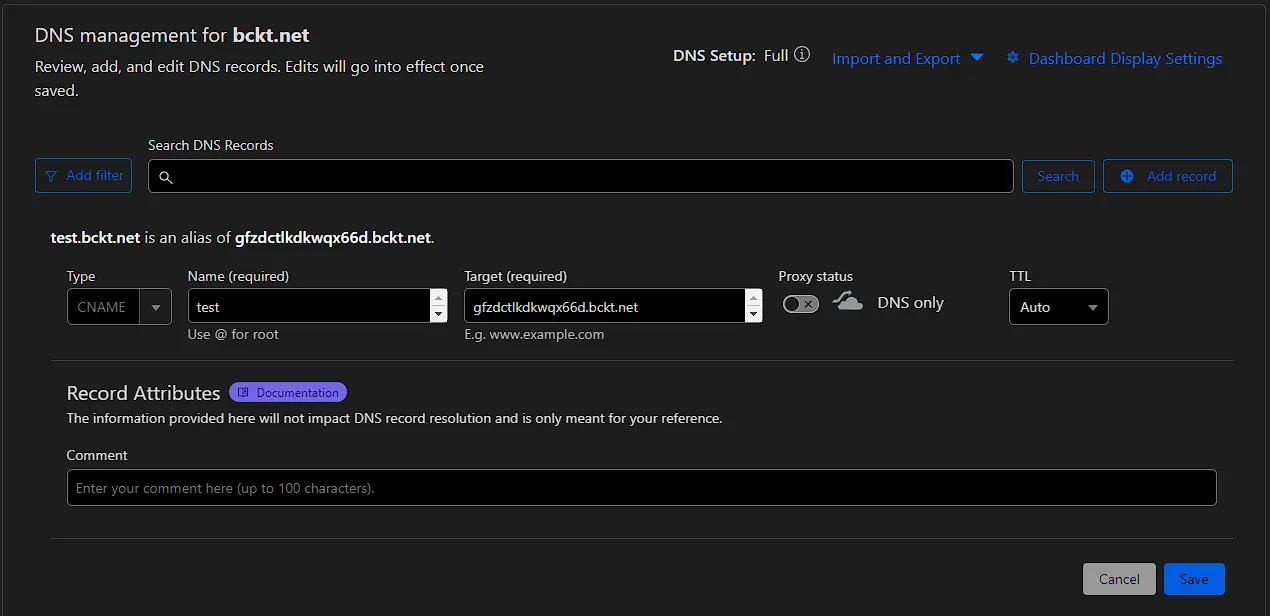
Click save then wait about a minute for the dns changes to propogate.
Once you have made your dns changes, click the Verify button to apply the changes. Once the domain is verified you can reload the page and verify the storefront is active.
Customization
We provide our own battle tested online storefront with a highly optimized checkout flow which can be fully customized with your own css styles.
In the branding section on the store page, you can customize basic branding options such as color and product layout, but you can also bring your own css file to make the store your own.
You’re done 🎉
That’s it. You are now ready to accept payments and sell your products!
Read more about all of our other features below: